

Quick answer: clear the clutter, keep the essentials—then use zones, trays, vertical storage and a few hiding spots to keep counters tidy and usable.
If your goal is a cleaner, calmer kitchen surface, start by removing everything that doesn't need daily access. From there, create purpose-built spots for the items that do stay out. Below are ten practical ideas—some immediate wins, some slightly deeper changes—that work together so your counters look cleaner without limiting function.
Create functional zones so each counter has a single job
Decide what each segment of your countertop is for: prep, coffee, cooking, and landing (where mail or bags temporarily go). When zones are intentional, fewer stray items migrate across the whole surface. Keep each zone supplied only with the tools used for that task—coffee beans and a scoop at the coffee zone, a knife block and cutting board at prep, a spoon rest and frequently used oils by the stove.
Corral small items with trays and shallow baskets
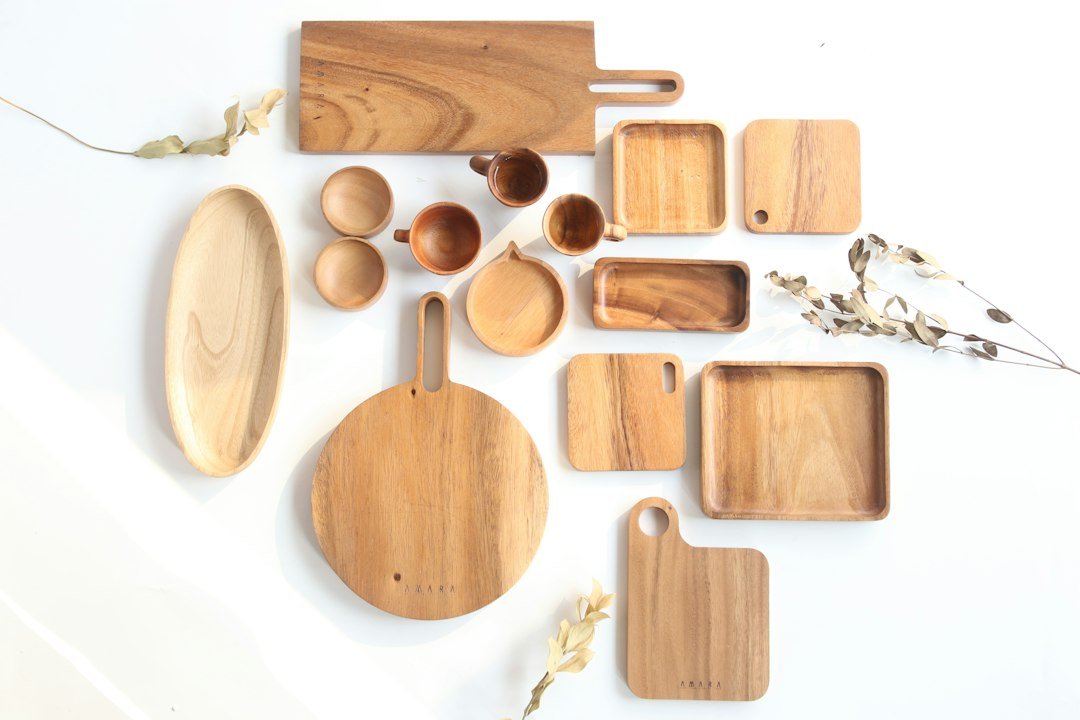
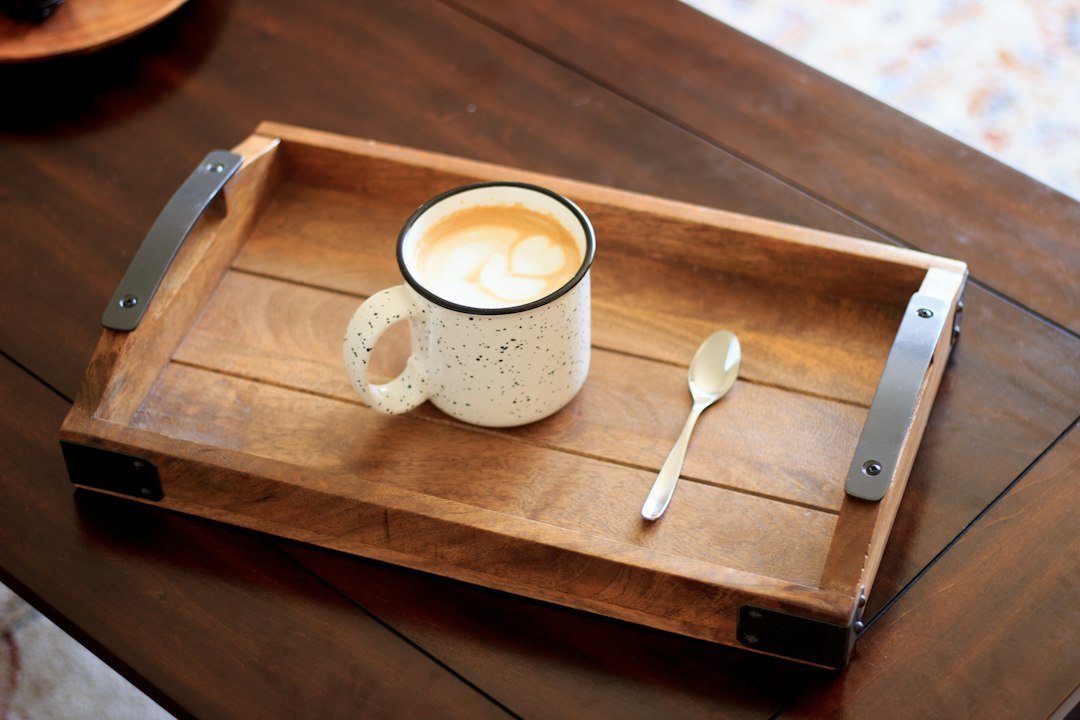
Trays are the simplest visual trick: they group mismatched things so the eye reads them as one tidy block. Use a shallow tray for the coffee station, one for oils and spatulas near the stove, and a smaller tray by the sink for hand soap, lotion and scrub brush. Choose trays that suit your kitchen’s scale—large enough to gather items but not so big they become clutter islands.
Use vertical and tiered organizers to free surface area
Instead of spreading spice jars or bottles across the counter, go vertical. A two- or three-tier bamboo rack or spice shelf moves storage up, leaving more open workspace. For taller items like oils and vinegars, a single narrow tiered stand next to the stove keeps them accessible without taking prime prep space.

Install under-cabinet mounts for knives, paper towels and mugs
Under-cabinet knife strips and paper-towel holders reclaim counter real estate and reduce visual clutter. Magnetic knife bars are slimmer and safer than bulky blocks, and a mounted paper-towel bar keeps the roll handy but out of sight lines. If you brew coffee often, under-cabinet mug hooks can store mugs off the counter.
Hide bulky appliances in an appliance garage or cabinet
Toasters, blenders and mixers are often the biggest contributors to a messy look. If you use them daily, give them a dedicated “garage” behind a roll-up door or in a nearby lower cabinet. If you’re storing them, keep one accessible model for daily use and rotate others into less-visible storage.
The Nuanchu 2-Pack 2-Tier countertop organizers (ID 5933) are a strong, space-conscious option if you want a ready-made vertical solution for spices, jars, or small appliances—use one by the stove and another at a coffee station.
Limit countertop decor to two or three purposeful items
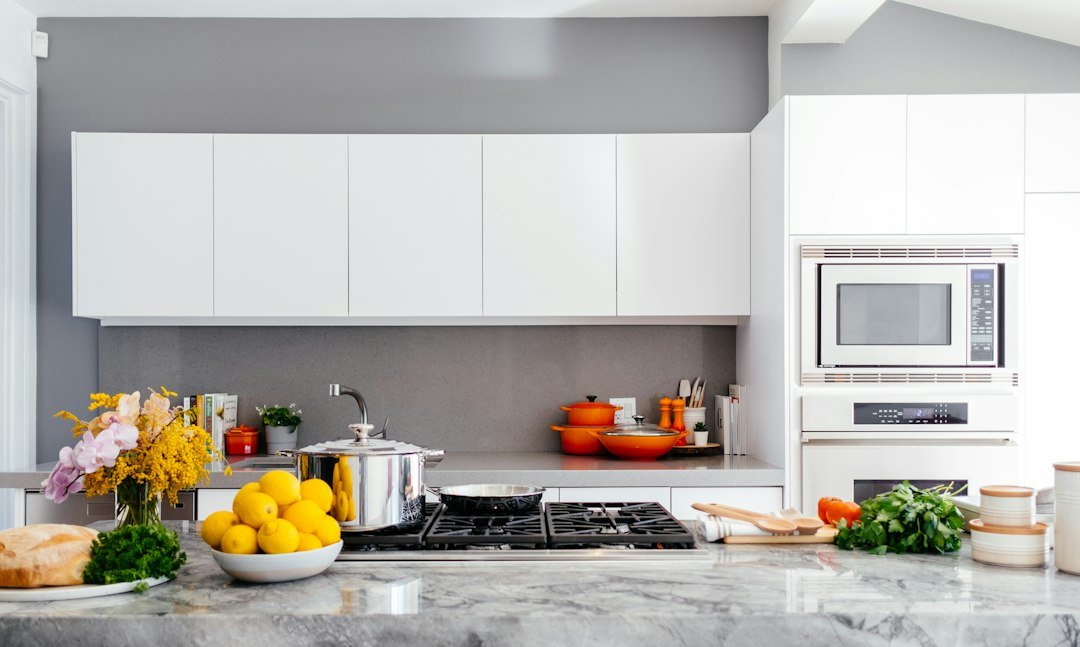
Decorate with intention. One potted herb, a bowl of fruit, or a small cutting board leaned against the backsplash reads as styled, not cluttered. Rotate decor seasonally to keep the look fresh while avoiding accumulation.
Choose clear canisters for frequently used dry goods
Replacing mixed, mismatched packaging with clear, uniform canisters streamlines the visual texture of your counter. Use airtight canisters for flour, sugar, coffee and frequently used cereals, and store extras in the pantry to avoid crowded counters.
Create a landing strip for mail and keys—off the counter
Stop counters from becoming the household drop zone. Install a small wall-mounted mail sorter or a narrow shelf by the kitchen entry. If a counter landing strip is unavoidable, use a slim tray to contain it and clear it daily.
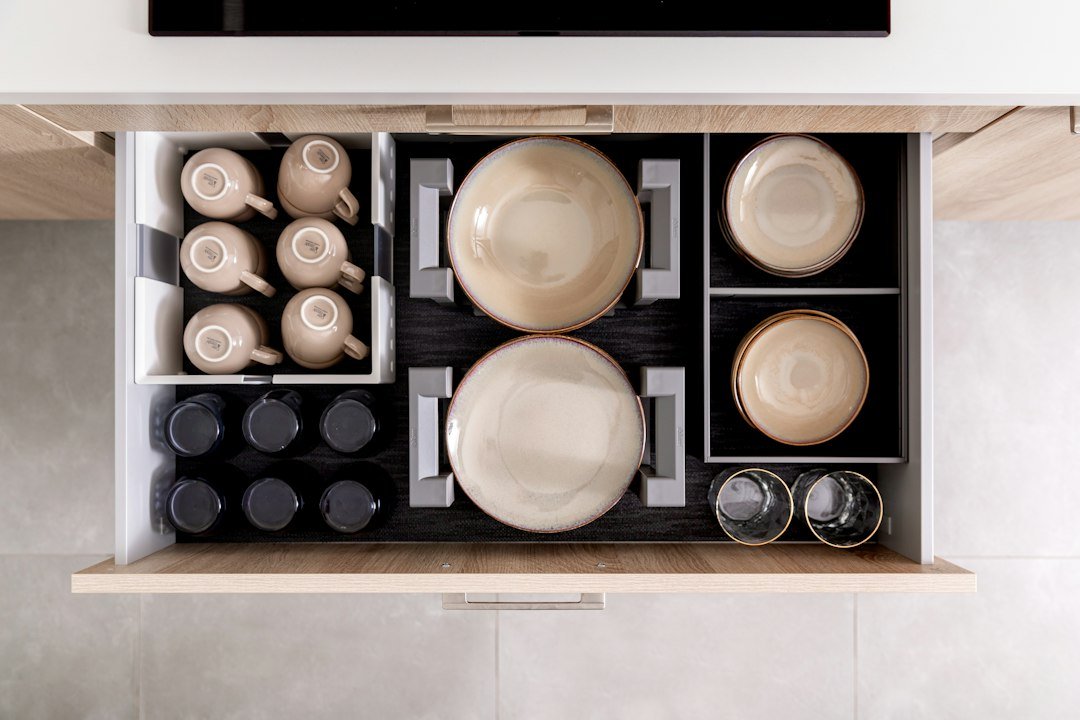
Use drawer or wall-mounted organizers for utensils that don’t belong out
Not every spoon or whisk needs a countertop jar. Use a deep drawer organizer close to your prep zone for most utensils; keep an attractive utensil crock for the three or four tools you reach for constantly. Wall-mounted racks or magnetic strips can also store frequently used metal tools within arm’s reach without cluttering the surface.
Think modular: make organization adapt to your cooking style
Devices like stackable organizers and removable trays let you reconfigure storage when you change routines—hosting, baking season, or a new appliance. Before buying, measure available counter depth and height so new organizers don’t block outlets or sightlines.
Small project checklist to get started
- Clear everything off and photograph your counter—seeing the before helps decision-making.
- Group items by zone (coffee, prep, cooking, landing).
- Pick one decorative item per zone (plant, bowl, framed recipe).
- Choose at least one organizational purchase: tray, tiered rack, or under-cabinet mount.
- Commit to a daily 2-minute wipe-and-return routine to maintain the look.
- Designate clear zones for coffee, prep, cooking and landing.
- Corral small items into 1–2 trays rather than many single pieces.
- Move spices and oils onto a vertical rack to free workspace.
- Install under-cabinet mounts for knives, paper towels or mugs.
- Hide one or two bulky appliances in a garage or cabinet.
Start by removing non-essential items and grouping what remains by use. Add a tray and a vertical organizer, mount a couple of under-cabinet fixtures, and hide the bulkiest appliances. Those four moves give the biggest visual impact with minimal time or cost.
How many items should I keep on the countertop?
There’s no fixed number—aim for only the tools you use daily (3–6 per zone). Everything else should be stored nearby but off the surface.
Are trays better than jars for organizing?
Trays are better for grouping heterogeneous items; jars work when you want uniformity and airtight storage for foodstuffs.
Can I use open shelving instead of counter storage?
Open shelves free counter space but increase visual clutter if overfilled; use open shelving for curated items and keep bulky or mismatched pieces concealed.
What’s the easiest first step to a cleaner countertop?
Remove everything that isn’t used daily and decide what belongs in each zone—then add one tray to group remaining essentials.