
Picture this: a sleepy weekday morning, you reach into a drawer for filters, jostle mugs around, and hunt for the coffee scoop. Now imagine a three‑step routine—push a button, grind or pour, and sip—without extra fumbling. That’s the practical promise of a well-designed home coffee station.
With a little planning and a few budget-friendly purchases, you can build a tidy, reliable home coffee station that fits a tiny apartment counter or a corner of your kitchen. The goal: reduce friction in your daily routine, keep everything in one place, and make cleanup fast—without spending on pro-grade machines.
What the finished home coffee station looks like
A compact countertop or cart holding your brewer, grounds or pods, a grinder (if you use whole beans), mugs, and the basic tools—plus a small but intentional flow: storage (beans/filters), work surface (brewer/grinder), and clean-up (trash/used pods). When done well, it’s both functional and a small visual focal point.
Step 1 — Choose the right location and footprint
Start with where you drink coffee. Near the kettle or sink is convenient for hot water and rinsing, but if you want a separate “bar” vibe, a side counter or a narrow rolling cart works. Measure width and depth: most compact setups live in a 24–36" wide by 12–18" deep zone.
- Small kitchen? Pick a single counter corner or a 2‑shelf cart so you can tuck it away when not in use.
- Limited outlets? Use a power strip with surge protection and hide cords with adhesive clips.
- Renting? Use freestanding furniture—no drilling needed.
Step 2 — Decide your brewing approach
Match equipment to how you actually drink coffee. The cheapest “best” choice is the one you'll use every day.
- Single‑serve (pods): lowest upfront cost and fastest cleanup. Good for households with different tastes. Store spare pods in a small organizer.
- Drip coffee maker: inexpensive and makes multiple cups. Look for compact models with a 4–8 cup capacity.
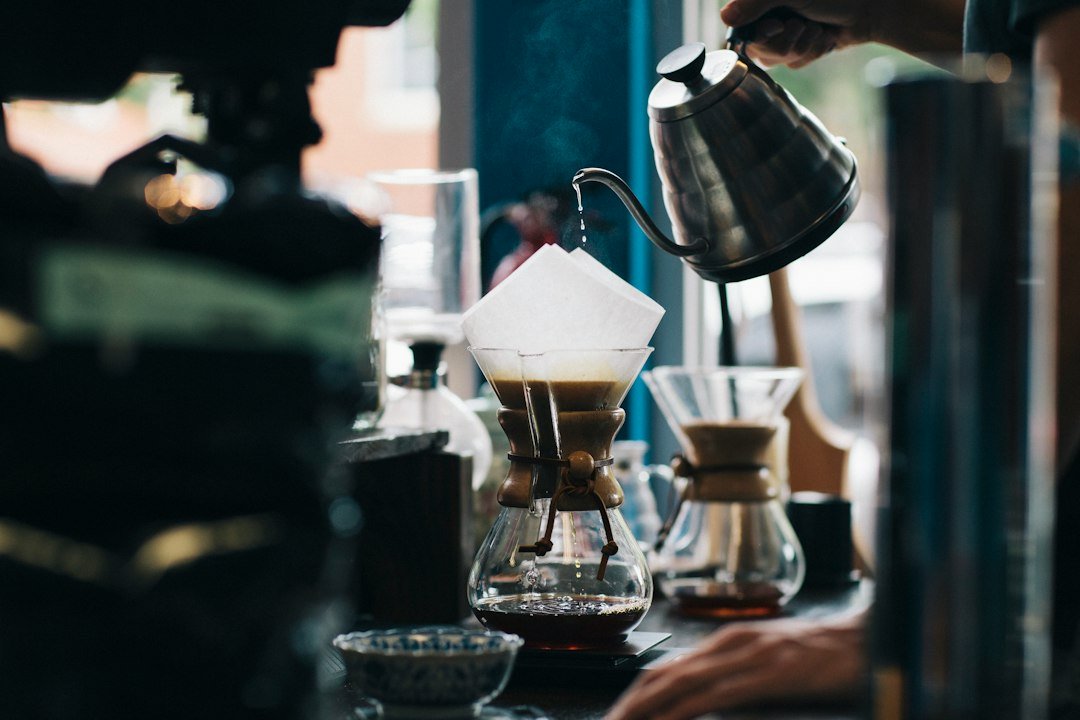
- Pour‑over: very low cost (cone dripper + kettle) and great flavor control; more hands-on but minimal storage needs.
- French press: cheap and simple; requires counter space for a press and a kettle.
For flexibility on a budget, many people choose a compact drip machine or a single‑serve brewer. If you want better flavor but still low cost, pair a pour‑over with a basic gooseneck kettle.
Step 3 — Prioritize essentials vs nice‑to‑haves
List only what lets you make coffee consistently. Extras can wait.
- Essentials: brewer, storage for coffee (airtight jar), mugs, filters (if needed), spoon/scoop, trash/jar for used grounds or pods.
- Useful extras: small burr grinder (if using whole beans), milk frother, two‑tier organizer, tray to contain spills, mug hooks.
If you must pick one upgrade, a burr grinder dramatically improves flavor for modest cost—preferably used with whole beans bought in small batches.
Step 4 — Smart storage and organization on a budget
Good organization reduces countertop clutter and makes the station look intentional.
- Use a 2‑tier organizer or small shelf to stack mugs and free surface area—this is where the prepSip coffee bar organizers shine for compact counters.
- Store beans or grounds in a labeled airtight jar; keep filters in a narrow container or drawer divider.
- Group similar items: mugs together, sweeteners in a jar, utensils in a small crock. Use adhesive hooks under a shelf for hanging mugs if space is tight.
- Contain crumbs and spills with a small tray under the brewer.
Step 5 — Outfit for efficiency and cleaning
Keep tools where you use them. Spoon/scoop next to the coffee jar; waste container within arm’s reach of the machine. For pod users, a small lidded bowl for used pods keeps things tidy until trash day.
- Place a small, shallow bin for used grounds or a compact compost container if you compost.
- Use a microfiber cloth or small silicone mat for quick wipe‑downs; clear spills immediately to avoid stains.
- If you have a grinder, clean it weekly—old grounds ruin flavor.
Step 6 — Keep costs down with smart buys and multipurpose items
Stretch your budget by choosing versatile items and watching for sales.
- Buy a sturdy secondhand kettle or grinder—many used models perform like new.
- Multipurpose cart: a small bar cart can double as extra pantry space.
- Skip single‑purpose décor until you have the essentials; practical items like a tray, jar, or organizer also serve as décor.
- Choose fewer, nicer mugs rather than many mismatched ones—visually cleaner and still inexpensive.
Troubleshooting common small‑space problems
If the station feels cluttered: remove duplicates (extra scoops or open bags). If countertops get wet: raise devices on a small cutting board or silicone mat to protect surfaces. If cords tangle: shorten them with Velcro ties and route them behind the station.
Where to spend a little and where to save
Spend on: a decent grinder if you like whole‑bean coffee, and an airtight container for beans. Save on: decorative items and duplicate accessories. A midrange organizer (like the product above) often eliminates several small purchases by combining storage, mug hooks and surface area.
Quick adaptations for renters and tiny kitchens
Use a narrow baker’s rack or a slim utility cart. Clamp-on shelves that don’t damage walls can double vertical space. Use magnetic hooks on the fridge for mugs if cabinet space is limited.
Final thoughts before you set it up
Design for your current routine, not an aspirational one. A simple, reliable setup you use every day is worth more than an elaborate station you never keep organized. Start with the essentials, add one upgrade at a time, and keep the flow intuitive.
- Measure available counter or cart footprint and outlet location.
- Choose the primary brewer that matches your daily habit.
- Buy one multiuse organizer or shelf to free up surface area.
- Select airtight storage for beans and a dedicated place for filters/pods.
- Plan a small waste/compost container and a wipe‑down cloth nearby.
- Set up cord management and test the workflow for one week, then tweak.
A functional home coffee station on a budget starts with clear location choices and a brew method you’ll use daily. Prioritize essentials, use a compact organizer to reclaim space, and add one thoughtful upgrade—like a grinder—when it truly matters.
What is the most space‑efficient coffee maker?
Single‑serve pod machines and compact 4–8 cup drip makers are the most space‑efficient because of their small footprints and minimal additional gear.
Do I need a grinder for a better cup?
Yes—freshly ground beans improve flavor noticeably, and a small burr grinder is the single best upgrade for taste on a modest budget.
How can I keep the station tidy in a shared kitchen?
Use labeled containers, a tray to contain equipment, and a weekly reset routine where each person returns items to their spot after use.
Are coffee station organizers worth the cost?
Yes—an organizer centralizes items, frees counter space, and reduces daily friction; a single good organizer often replaces multiple small storage buys.