
Why pour-over coffee is worth learning
Pour-over coffee rewards a small investment of time with consistently cleaner flavor and clearer control over extraction. If your goal is a repeatable morning cup that highlights the coffee bean rather than masking it, pour-over coffee is a practical technique to master.
Essential equipment that actually matters
- Dripper: Ceramic, glass, or metal cone (V60-style or similar). Ceramic keeps temperature steady; metal heats faster. Pick one you’ll use daily.
- Filters: Paper filters remove oils and produce clarity; metal filters let more body through. Start with paper to learn extraction basics.
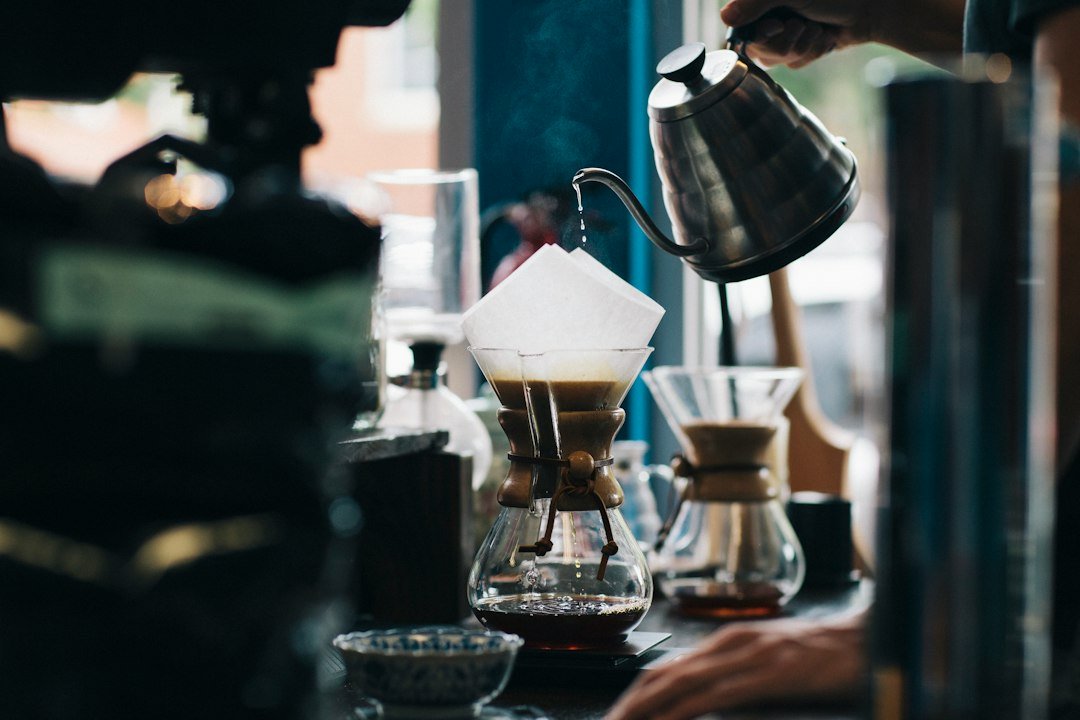
- Gooseneck kettle: Precise, steady pours make a big difference. You can use a regular kettle but expect less control over flow.
- Scale with timer: Accuracy beats guesswork—aim for a scale with 0.1–1 g resolution and a built-in timer.
- Burr grinder: Fresh and even grind size is critical. Blade grinders are inconsistent; a burr grinder (hand or electric) is worth the cost.
- Good beans and thermometer: Use freshly roasted beans; water at 195–205°F (90–96°C) is ideal. A thermometer helps until you can judge by kettle behavior.
Quick setup: what to measure and why it matters
Start with a simple brew ratio and adjust from there. A reliable beginner ratio is 1:16 (1 gram coffee to 16 grams water). For a single 12–16 oz cup, use about 20 g coffee to 320 g water.
Measure by weight, not volume. Consistent mass measurements control strength and extraction far better than scoops.
Simple pour-over technique you can repeat
- Heat water: Bring water to near-boil and let sit 30 seconds so it’s ~200°F (93°C).
- Prep filter and dripper: Place a paper filter in the dripper and rinse it with hot water to remove paper flavor and warm the dripper and server. Discard rinse water.
- Weigh and grind: Grind 20 g whole beans to a medium-fine grind—slightly finer than drip but coarser than espresso; it should look like table salt.
- Bloom (30–45 seconds): Add grounds to the wet filter, tare the scale, and pour ~40–50 g water to saturate the bed. Stir gently or swirl to ensure even wetting; let CO2 escape.
- Main pour (2–3 minutes): After the bloom, pour steadily in concentric circles or a center-to-edge spiral, keeping the water level below the top of the dripper. Aim to finish pouring by 2:30–3:00 minutes total; final drawdown around 3:00–3:30 minutes.
- Serve right away: Transfer to a cup to stop extraction and enjoy.
Why grind size, timing and pour technique interact
Extraction depends on contact time and surface area. If your brew finishes too quickly (under 2 minutes) and tastes thin, try a slightly finer grind or a slower pour. If it drips extremely slowly (over 4 minutes) and tastes bitter or over-extracted, go coarser or pour a bit faster. Small increments—one click on a grinder or 5–10 seconds on pour time—are enough to tune taste.
Practical tweaks for better flavor
- Adjust the ratio for strength: Move toward 1:15 for a stronger cup, 1:17–1:18 for lighter. Change the ratio first before radically changing grind size.
- Control water temperature: Slightly cooler (around 195°F) highlights bright, fruity beans; hotter (up to 205°F) pulls more body and sweetness from darker roasts.
- Pour in pulses: Small, controlled pours reduce channeling (uneven water paths through the bed) and produce more uniform extraction than a single big pour.
- Try different filters: A paper filter yields clarity, while a metal mesh adds mouthfeel. Use paper to learn the bean’s pure flavors, then experiment.
Common problems and simple fixes
- Sour or underdeveloped: Extraction too low—grind finer, increase water temp, or extend pour time.
- Bitter or over-extracted: Grind coarser, reduce water temp, or shorten total contact time.
- Uneven extraction (muddy or channeling): Check grind uniformity, use a flat bed of grounds, and pour more evenly from center outward.
- Weak cup despite correct ratio: Grounds may be too coarse or too old; use freshly ground coffee and slightly finer grind.
One recommended product to get started
If you’re assembling a minimal, reliable setup, a simple ceramic dripper paired with an accurate scale will cover most needs. Consider this store option for a traditional, portable dripper:
- Choose fresh beans and note roast date.
- Use a burr grinder and set to medium-fine.
- Weigh coffee and water for a 1:16 starting ratio.
- Rinse paper filter and preheat dripper/server.
- Perform 30–45s bloom then pour in controlled pulses.
- Target 2:30–3:30 minutes total brew time.
Start simple: a ceramic dripper, a gooseneck kettle, a scale, and a burr grinder. Use a 1:16 ratio, a 30–45 second bloom, and steady pours to learn how grind, temperature and timing affect flavor. Once you can reproduce a cup, tweak one variable at a time.
What grind size should I use for pour-over coffee?
Begin with a medium-fine grind (like coarse table salt). Adjust finer if the brew is too fast and sour; coarser if it’s slow and bitter.
Do I need a gooseneck kettle?
A gooseneck kettle greatly improves pour control and consistency but isn’t strictly required—expect more variability with a regular kettle.
How do I know when extraction is right?
Good extraction tastes balanced (neither sour nor overly bitter) with clear, distinct flavors; drawdown between ~2:30 and 3:30 minutes is a useful target for many setups.
Paper filter or metal filter—which should I choose first?
Start with paper filters for clarity and to learn bean character; switch to metal later if you prefer more body and oils in the cup.
Can I make multiple cups at once with pour-over?
Yes—use a larger dripper or pour in stages with a larger carafe, but maintain consistent grind, ratio, and pour technique to avoid uneven extraction.