
Answer up front: if you want consistently better coffee at home, prioritize a good burr grinder, a scale with timer, and a gooseneck kettle (for pour-over). Beyond those three, twelve accessories together cover consistent dosing, tamping, temperature control, milk texturing and cleanup—each one solves a specific, repeatable problem.
The list below names the 12 essentials, explains why each matters, and gives short practical buying or usage tips so you can choose what to add next based on the brewing methods you actually use.
Core tools for consistent extraction
1. Burr grinder — not a blade grinder. A burr grinder produces uniform particle sizes, which is the single biggest upgrade for better flavor. If you brew espresso, look for stepless adjustment and low retention; for filter coffee, a stepped grinder with stable grind settings is fine. Grind fresh immediately before brewing.
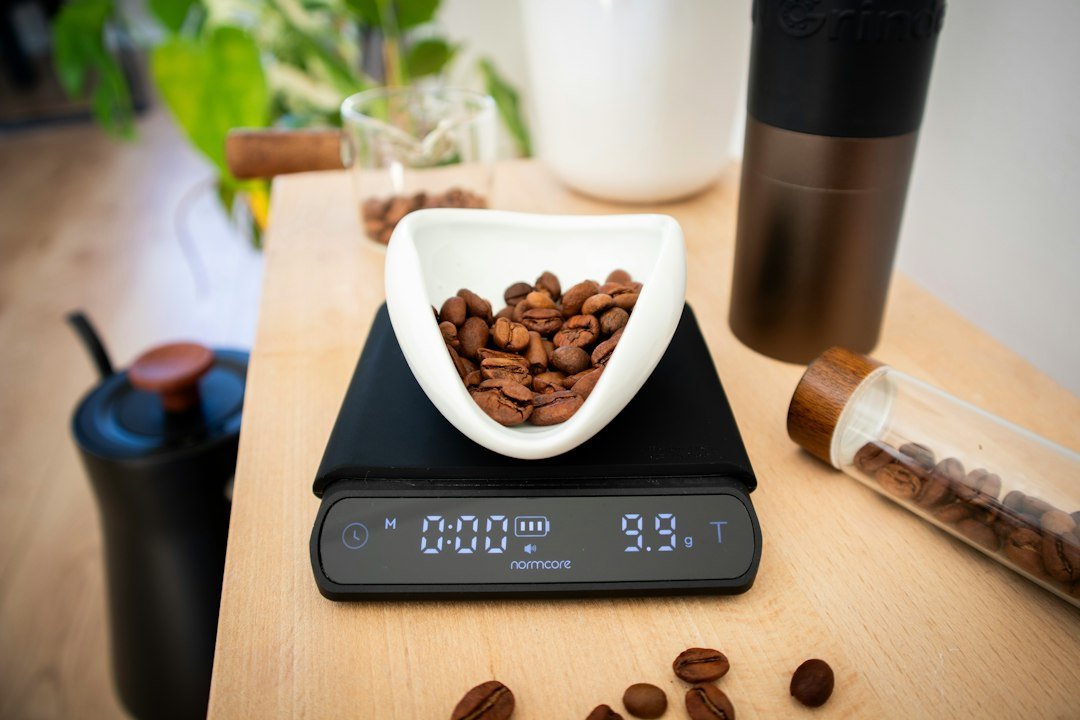
2. Digital scale with timer. Dose by weight, not volume. A scale that times lets you track yield and brew time for repeatable shots or brews; this turns guesswork into measurable improvements.
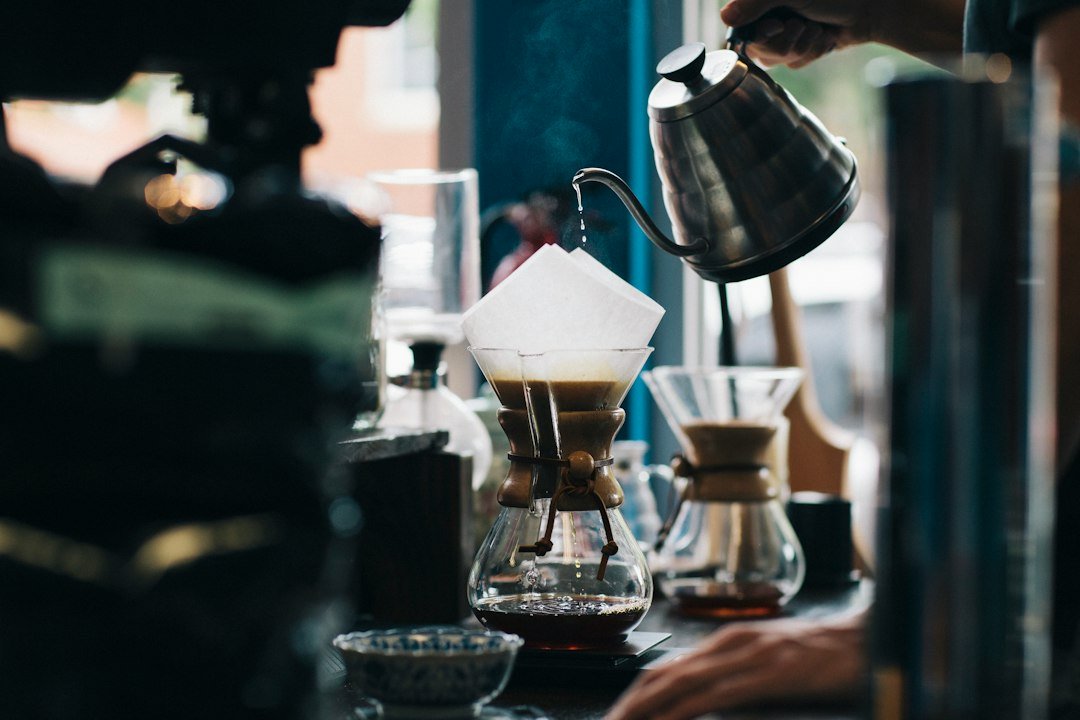
3. Gooseneck kettle (for pour-over). Precise pour control matters for bloom and even extraction. Choose a kettle with a comfortable spout and a stable handle; cordless electric models with temperature control are worth the premium if you brew a lot of filter coffee or tea.
Tools for espresso: tamping, distribution and cleanup
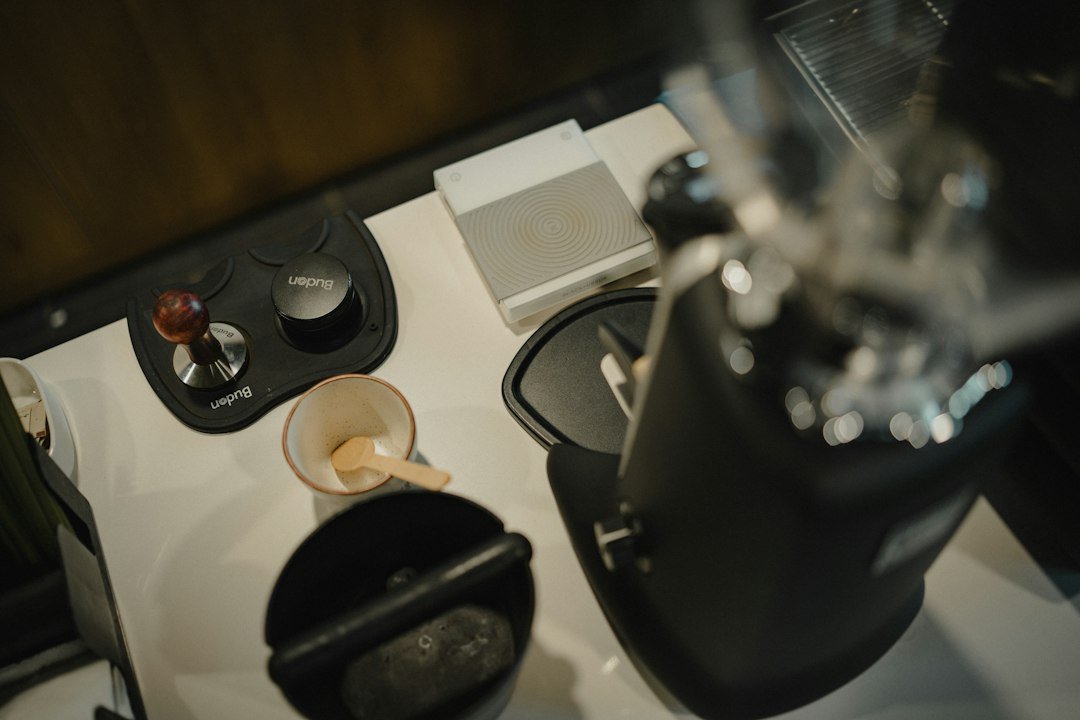
4. Espresso tamper. An even, level tamp prevents channeling. Match the tamper diameter to your portafilter (51mm is common). Consider a flat tamper for consistent contact or a slight convex base if preferred; a solid, heavy tamper helps you apply steady pressure.
5. Distribution tool / WDT tool. If you notice channeling or uneven shots, a distribution tool or a Weiss Distribution Technique (WDT) tool helps break clumps and level grounds before tamping, improving uniformity.
6. Knock box. Quick, clean disposal of spent pucks keeps your workflow fast and reduces mess. A rubberized bar reduces noise and protects portafilters; choose one sized for your portafilter diameter and counter space.
Milk and temperature control
7. Milk frothing pitcher. A good stainless-steel pitcher (12–20 oz for most home uses) with a narrow spout gives control for microfoam and latte art. Pick size to match the drinks you make: small pitchers for single cups, larger for multiple drinks.
8. Thermometer or milk-foaming thermometer marker. If you’re learning steaming, a small thermometer or a pitcher with temperature marks prevents scalding and helps produce consistent milk texture—aim for 55–65°C (130–150°F) depending on taste.
Brewing accessories and accuracy
9. Reusable or paper filters and a filter holder. For pour-over and drip methods, the right filter changes flow rate and clarity. Use higher-quality paper filters or a reusable metal one if you prefer more body; rinse paper filters to remove papery taste and preheat the dripper.
10. Coffee storage canister. Freshness starts with storage: an opaque, airtight container in a cool, dry spot preserves flavor longer than the bag the coffee came in. Avoid the fridge—oxygen and moisture are the enemies.
Cleaning, protection and small conveniences
11. Tamping mat or bench mat. Protects counters and gives a stable surface when tamping; it also keeps the portafilter from slipping. A small silicone mat is inexpensive and reduces noise.
12. Small cleaning brush and backflush supplies. Regular cleaning of group heads, grinders and steam wands prevents buildup that destroys flavor. A simple nylon brush and occasional backflush detergent (for compatible machines) extend equipment life and keep shots tasting clean.
How to prioritize purchases
Pick accessories that solve your current pain point. If your coffee tastes inconsistent, buy the burr grinder and scale first. If your espresso shots gush or taste sour in places, add a distribution tool and tamper. If milk drinks lack texture or overheat, invest in a pitcher and thermometer. Space, budget and brewing style (espresso vs. pour-over vs. drip) should guide order.
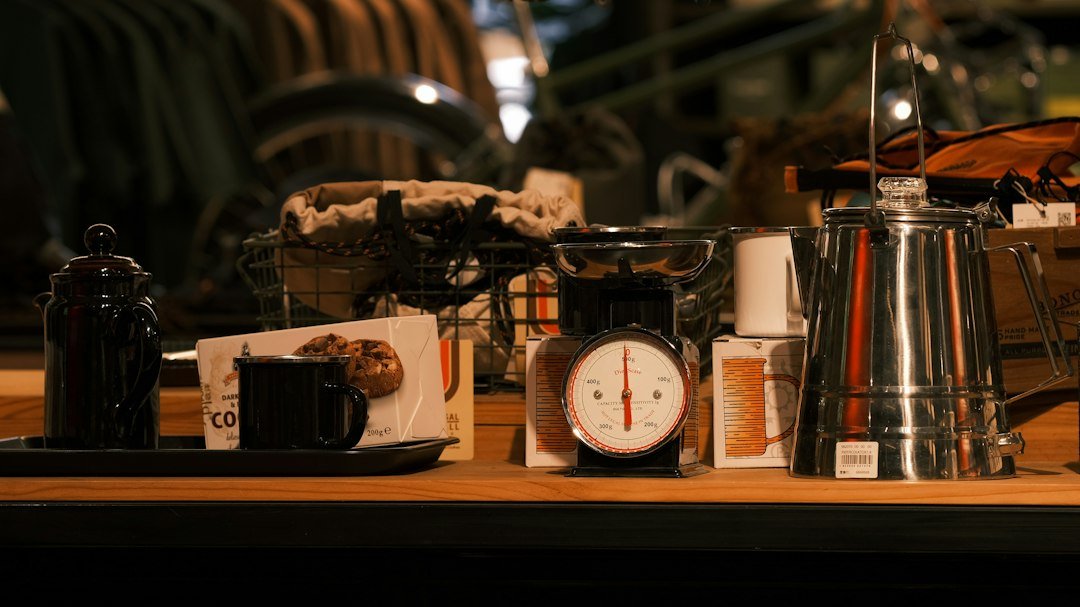
Product suggestion: for a compact solution that improves cleanup right away, a knock box is a high-impact, low-cost item. It fits naturally into an espresso workflow once you’re pulling multiple shots.
Minor choices that matter
• Tamper fit beats fancy handle—measure your portafilter. • For grinders, decide between convenience and control: stepped grinders are easier to repeat; stepless ones let you fine-tune. • Stainless-steel pitchers are durable; choose the right size and spout for pouring technique. • If counter space is tight, prioritize multifunction items (e.g., a scale that also has a timer).
Exceptions and trade-offs
If you only drink single-serve pod coffee, many of these accessories won’t help. For large-household brewing, a larger-capacity kettle and storage canister are more useful than a precision tamper. Budget-minded beginners can postpone expensive tampers or PID-equipped kettles until they feel the benefit of better grinding and dosing.
Where to learn more
Once you have the basics, practice measuring yield, dialing in grind, and noting temperature effects. These small experiments reward you faster than buying every gadget. For method-specific guidance, see the site’s detailed articles on choosing grinders and setting up a coffee station.
- Buy a burr grinder or confirm your current grinder’s burr type.
- Get a digital scale with timer and practice dosing by weight.
- Select a gooseneck kettle if you brew pour-over.
- Match tamper diameter to your portafilter before purchasing.
- Choose a milk pitcher sized for your typical servings.
- Plan a cleaning routine: brush, wipe and periodic backflushing.
A small set of targeted accessories—grinder, scale, kettle, tamper, pitcher and a knock box—fix the most common flavor and workflow problems. Add others only as your brewing technique demands them.
Do I need a tamper if my machine came with one?
Built-in or cheap tampers are often undersized or light; matching diameter and using a solid tamper improves consistency but try your current one first.
How important is a burr grinder for filter coffee?
Very: uniform grind size reduces over- and under-extraction and makes recipes much more repeatable.
Can I skip a knock box if I have a trash can?
You can, but a knock box is hygienic, quieter and speeds workflow—useful if you pull multiple shots daily.
Are electric kettles with temperature control worth it?
Yes if you brew delicate single-origin pour-overs or tea often; otherwise a simple gooseneck kettle works fine with a thermometer.