
Start by deciding how you actually use your coffee station
Before you clear counter space, think about the single focus of your setup: quick drip coffee, morning espresso shots, or a multi-person station. The simplest rule for coffee bar organization is to keep the two or three things you touch most within arm’s reach and store everything else out of sight. That clarity makes the rest of these ideas much easier to apply.
1. Choose a compact footprint with a two-tier countertop organizer
When countertop real estate is the limiting factor, a 2-tier organizer stacks mugs, sugar, filters and small tins without looking cluttered. Place frequently used items (coffee canister, kettle) on the lower shelf and lighter, decorative pieces above. A metal wire or bamboo tiered tray is easy to wipe clean and keeps spills contained.
2. Use clear canisters and label them for quick access
Mason jars or uniform airtight canisters create visual order and save space because they stack or tuck together. Label beans, grounds, filters, and sweeteners with simple tags so family members can find what they need. Transparent containers also alert you to low supplies before you run out.
3. Reclaim under-cabinet space with mounted shelves or hooks
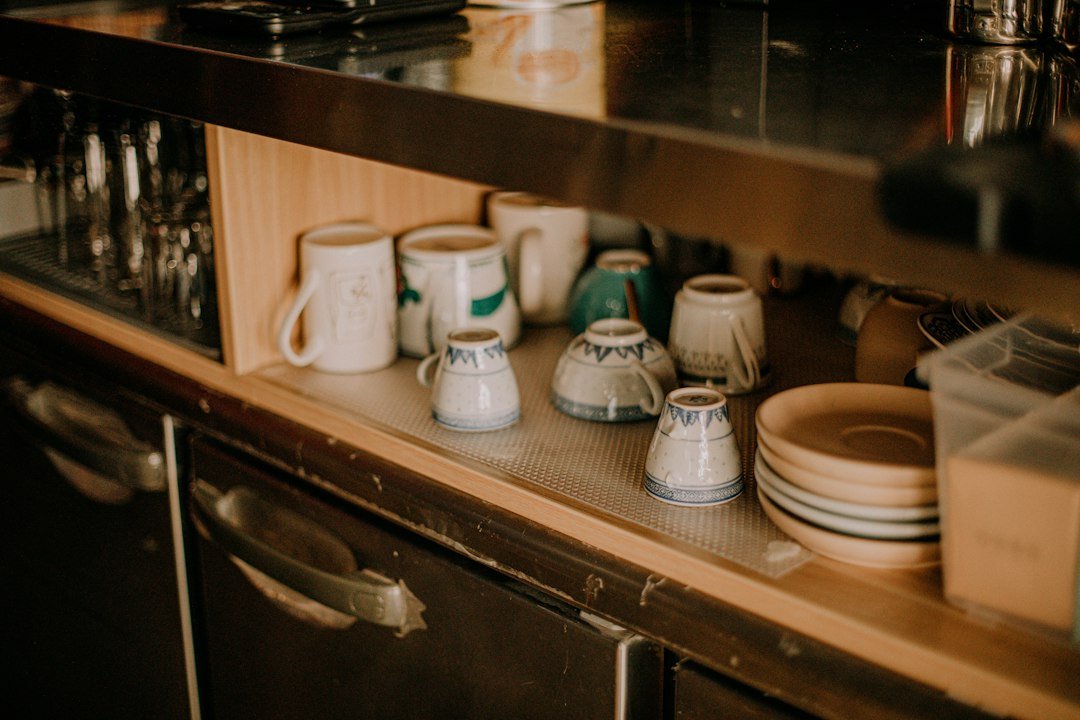
Under-cabinet shelves add storage without eating counter space; hooks beneath them are ideal for hanging mugs. If you have a small espresso machine, mounting a slim shelf above it provides a place for tamper, shot glasses and small saucers. Look for low-profile under-cabinet units that don’t interfere with cabinet doors.
4. Build a drawer that’s actually a coffee station
If floor space is tight, dedicate one drawer to coffee paraphernalia: a section for pods or bags, a space for spoons and a shallow tray for scales or tampers. Use adjustable dividers so you can reconfigure as your routine changes. A lined shallow drawer gives the tidy look of a station while keeping counters clear.
5. Verticalize with a narrow shelving unit or pegboard
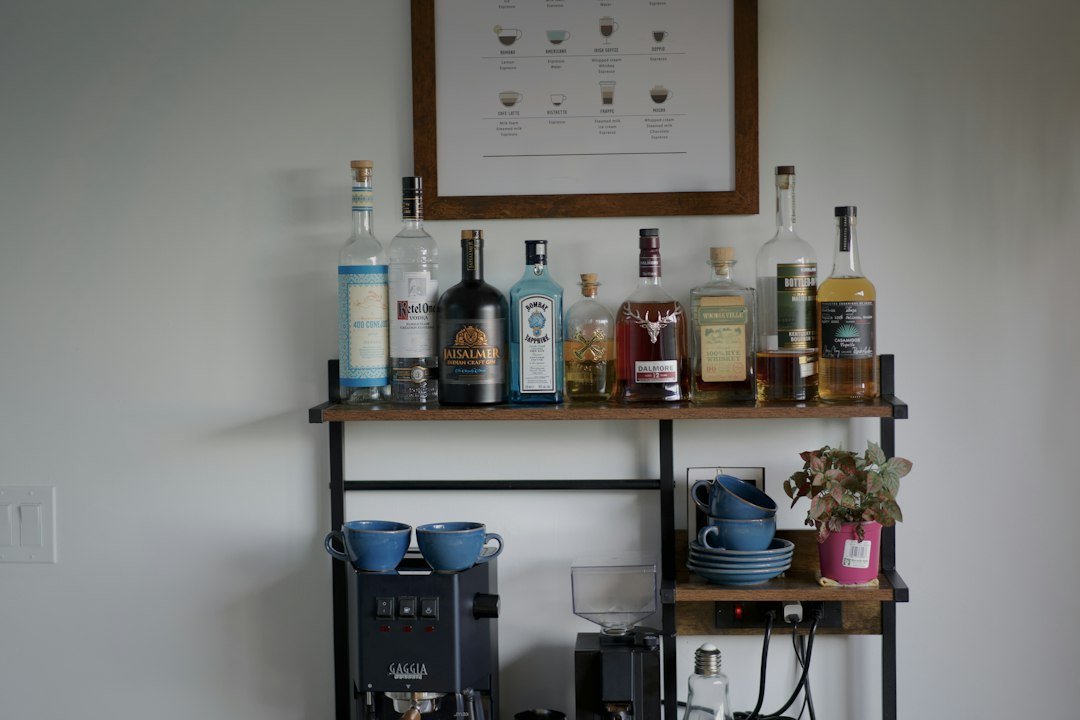
Thin vertical shelving or a pegboard uses wall height instead of width. Shelves hold canisters and mugs, while hooks keep grinders and scoops handy. Pegboards are especially flexible—move pegs and small baskets as your collection grows or shrinks.
6. Keep one clear prep surface with a defined tray
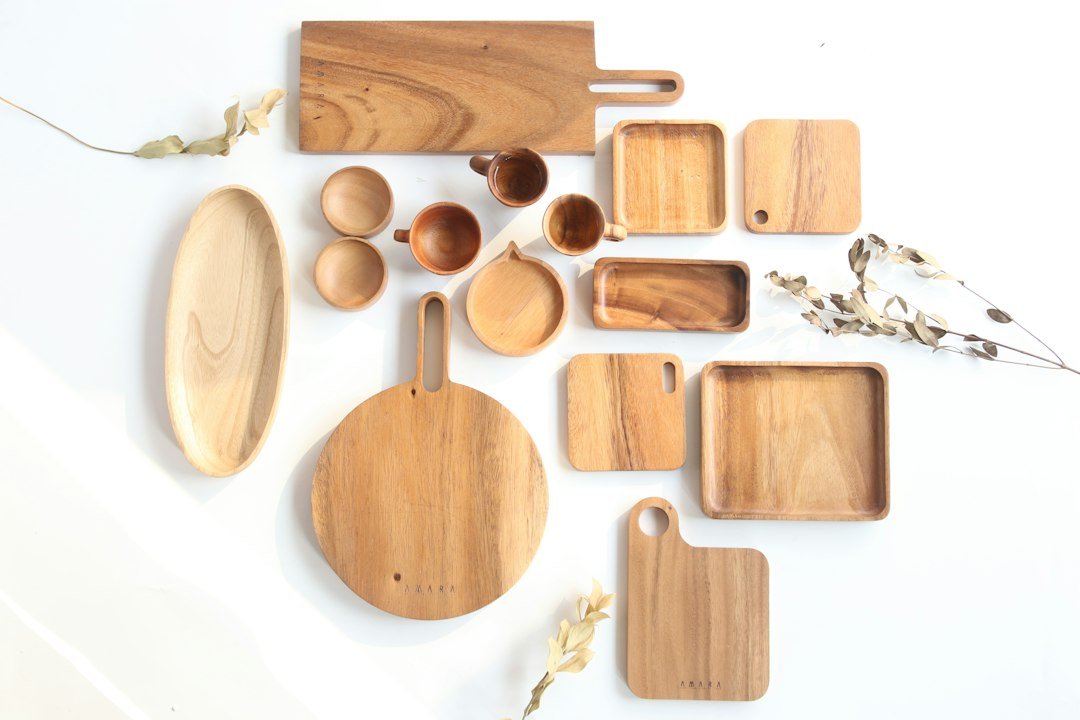
Designate a small tray or cutting board as the coffee-prep zone. Everything that participates in making coffee should live on that tray when in use—kettle, jar, spoon—so you can lift it when you need counter space. Trays also protect counters from drips and make cleaning faster.
7. Make pods and single-serve items stylishly accessible
For pod users, a compact carousel, box, or wall-mounted dispenser keeps capsules visible and prevents them from spilling into drawers. A slim vertical pod holder takes up much less counter area than a scattered box and doubles as a tidy visual anchor for the station.
8. Use multipurpose pieces to reduce clutter
Pick tools that pull double duty: a kettle with a narrow footprint, a grinder whose lid works as a dosing cup, or a 2-tier organizer that also acts as a drying rack for filters. The fewer specialty items you keep, the less storage you need—and the cleaner your small kitchen will look.
9. Add a small cart if you need mobility
If your mornings vary between rooms or you need temporary extra surface, a slim rolling cart offers flexibility. Put heavier items like the grinder and beans on the bottom shelf, and use the top as the active prep surface. When not in use, tuck the cart in a pantry or corner.
10. Choose one helpful product that fits small kitchens
If you want a single purchase to unify a cramped coffee corner, a compact, two-tier countertop coffee organizer gives immediate order and keeps essentials visible. It’s an easy win for most small kitchens and works with both single-serve and manual-brew setups.
Quick layout examples to copy
- Solo brewer: small kettle + coffee canister on lower shelf, cups hung under a narrow mounted shelf.
- Pod setup: vertical pod carousel, small tray for used pods, drawer for spoons and napkins.
- Shared family station: rolling cart with grinder and beans below, mugs and sugar on top—store cart in pantry overnight.
- Decide the station’s primary use: espresso, drip, or pods.
- Measure the available countertop and cabinet clearance.
- Pick one vertical or under-cabinet solution to save counter space.
- Choose uniform containers for visual consistency and easy stacking.
- Plan one landing zone (tray or board) for active prep.
In a small kitchen the goal is not to showcase every gadget but to make mornings reliable: put the essentials front and center, use vertical and under-cabinet space, and limit specialty items. A single compact organizer often solves most clutter while keeping your routine fast.
How much counter space do I need for a functional coffee bar?
A minimal, functional coffee bar can fit in a 12–18 inch wide spot using a slim tiered organizer or wall-mounted shelf; larger setups need 24–30 inches for an espresso machine plus workspace.
Are under-cabinet shelves hard to install?
Many under-cabinet shelves are designed for simple installation with screws or adhesive brackets; choose a model rated for the weight you’ll store and follow manufacturer instructions for safe mounting.
What’s the best way to store beans in a small kitchen?
Airtight, opaque canisters stored on a shelf or in a cabinet keep beans fresh and reduce visual clutter—avoid transparent bags sitting on the counter long-term.
Can I mix pods and ground coffee in one station?
Yes—designate separate containers or drawers for pods and grounds to prevent spills and cross-contamination; keep brewing tools for each type on opposite sides of the prep tray.
What should I prioritize buying first?
Start with a compact organizer or tray to define the space, then add storage containers and an under-cabinet hook or shelf if you need more vertical storage.